Tasks, Actions, Agents & Services
The main concepts in the app are tasks for annotation, actions for running jobs, agents for auto-annotation and services for apps and APIs. They can be created and managed in the web app, via the CLI or automatically by your coding assistant.
Tasks
Tasks are workflows that preprocess and queue up data for annotation or review and start the annotation server. They are created from a recipe, a Python function describing the workflow and its available settings. You can also think of a task as an instance of a given recipe with a specific configuration. Tasks can be created in the UI or via the CLI and once started, annotators will be able to connect to them and create annotations.
Annotate entitiesSTARTED
To create a new task, you can navigate to TasksNew task in the UI or use tasks create on the command line. The available settings are automatically converted into a web form and CLI arguments.
$ellftasks
create
ner"Annotate entities"--dataset "NER News"
--input "News Headlines"
--label PERSON,ORG,PRODUCT,LOCATION
--model.name en_core_web_trf
To start a task, you can run tasks start with the name or ID of the created task:
This will start the annotation server and will allow human annotators and annotation agents to connect and create data. Each time an annotator connects to the interface, a new session is created and the annotations and sessions can be viewed in the app. You can add annotators and agents in the UI or via users assign and agents assign. You can also provide annotation instructions that annotators can view in the app.
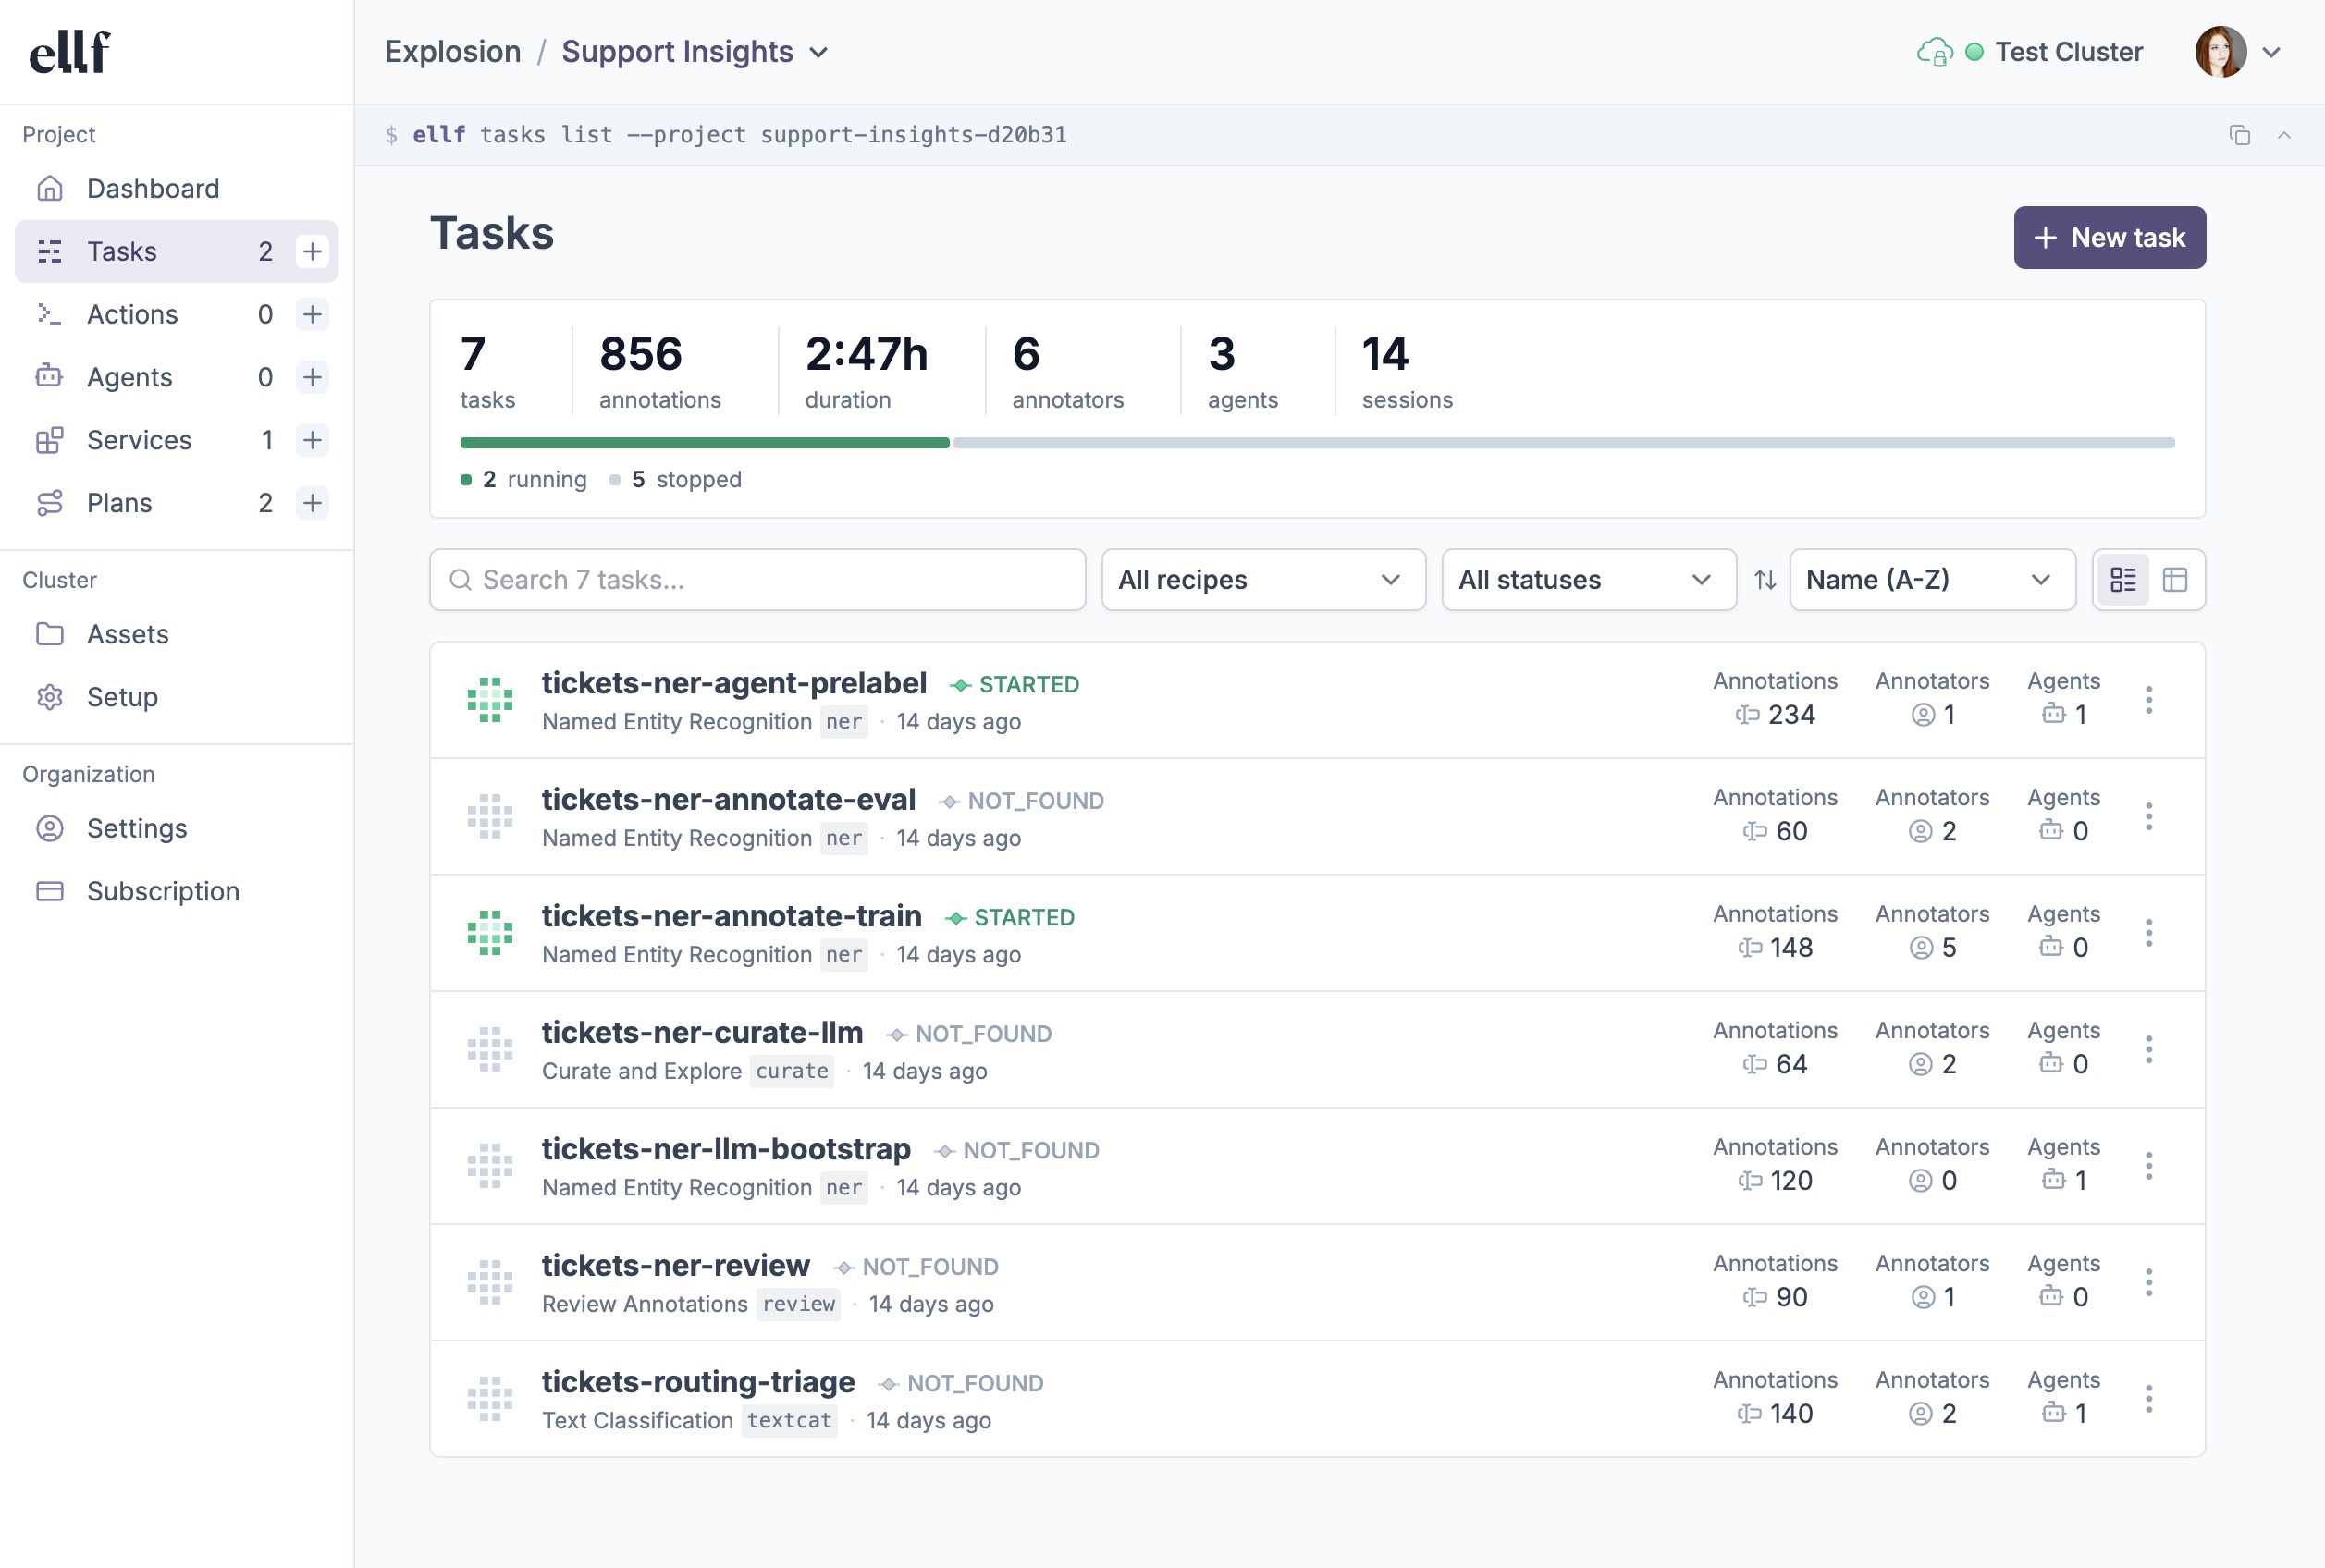
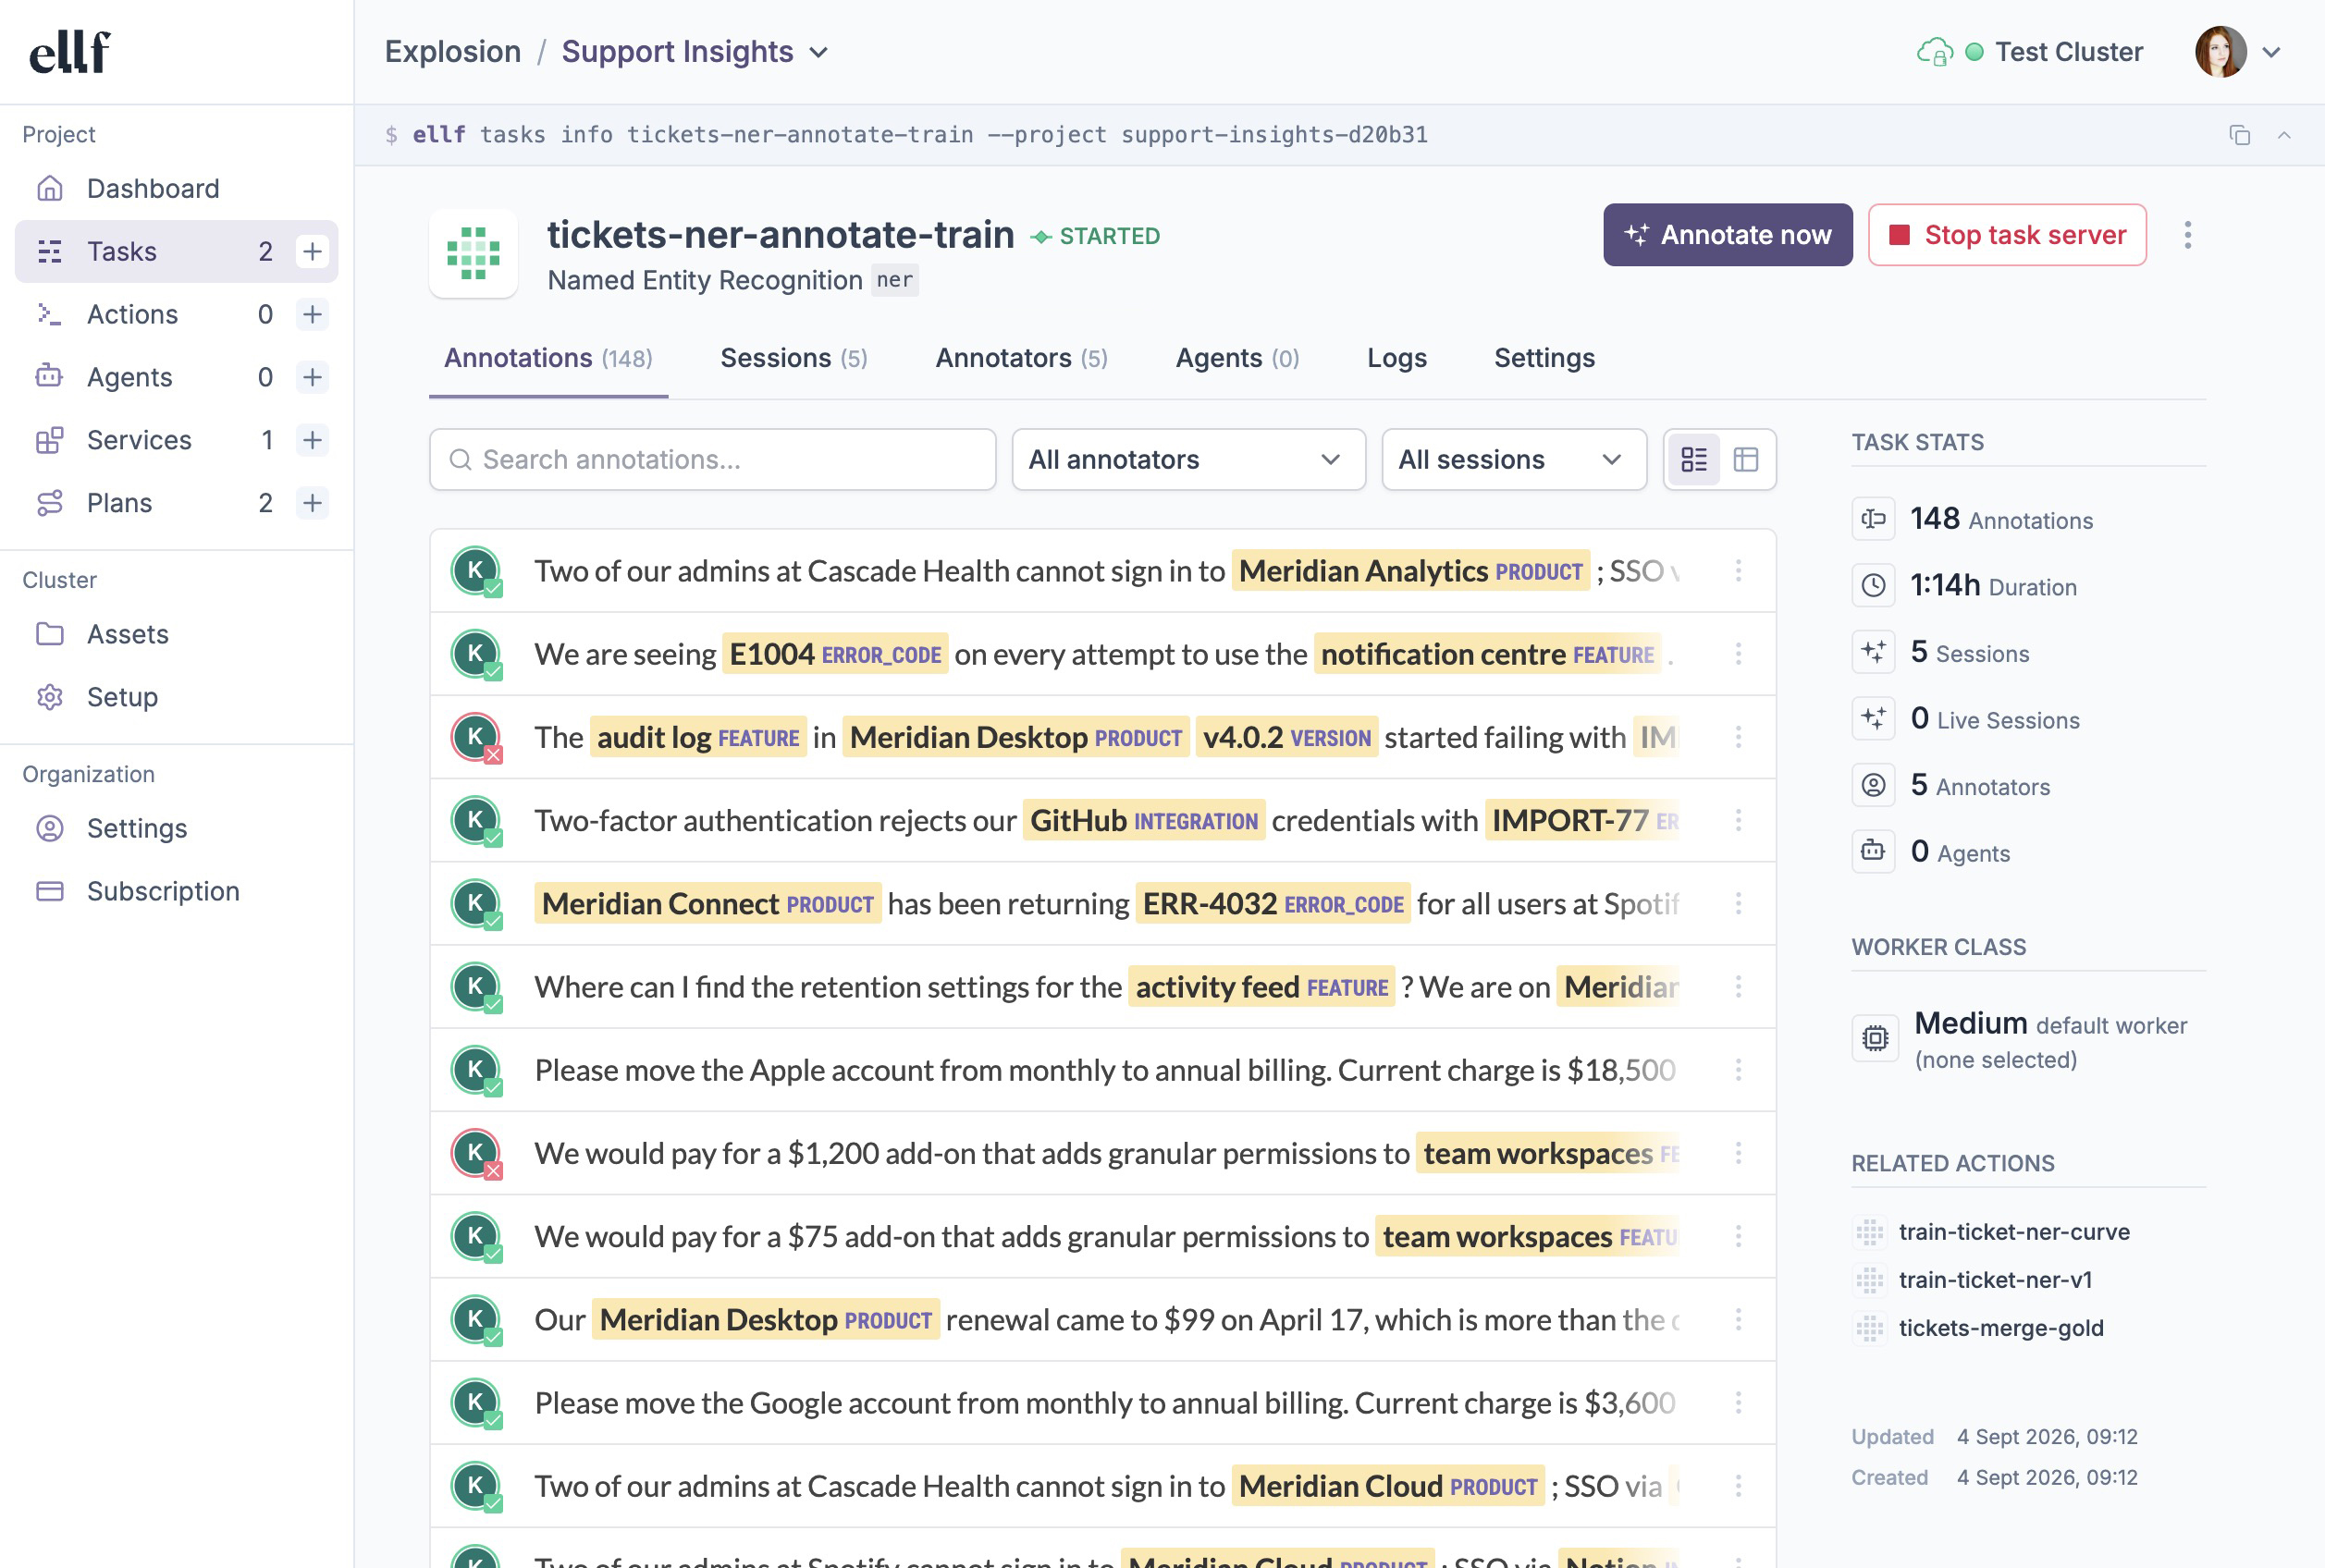
Annotations are saved into the provided dataset, which can then be used by other tasks and actions, e.g. to review the data or train a model, or exported to a file.
Read more
Actions
Actions are workflows that execute any logic and exit. They’re created from a recipe, a Python function describing the workflow and its available settings. You can also think of an action as an instance of a given recipe with a specific configuration, similar to jobs running in a CI system like GitHub Actions. Actions can be created in the UI or via the CLI and have access to all resources on your cluster, so they can be used to train a model from your data, perform data analysis, trigger deployment or integrate Ellf with other tools and services.
Train a pipelineSTARTED
To create a new action, you can navigate to ActionsNew action in the UI or use actions create on the command line. The available settings are automatically converted into a web form and CLI arguments.
To start an action, you can run actions start with the name or ID of the created action:
This will create a new execution, run the code and save all output to the logs, which you can access via the Logs tab or actions logs. Actions can have many executions over time – for instance, for regular training runs, end-to-end testing, deployment or data import and export.
To check the status of a running action via your coding assistant and view a summary, you can use the monitoring module. If you’re using an action to train a model, Ellf is also able to analyze and interpret the logs via the model training module – for example to detect potential problems like overfitting and suggest solutions.
Agents
Agents are autonomous workers and annotators that can be assigned to tasks. They’re created from a recipe, a Python function describing the agent’s intended behavior, its available settings and the type of work it’s specialized for. Agents are typically powered by LLMs and can use models running on the cluster or access them via APIs. When assigned to an annotation task, an agent will run in the background and automatically create annotated data in its own dataset.
Auto-labeler for NERANNOTATING
To create a new agent, you can navigate to AgentsNew agent in the UI or use agents create on the command line. The available settings are automatically converted into a web form and CLI arguments. If API keys are required, you can use Ellf’s built-in secrets feature.
$ellfagents
create
gemini_agent"My first agent"--model gemini-2.0-flash
--api-key GEMINI_API_KEYTo start an agent, you can run agents start with the name or ID of the created agent:
Once started, the agent will automatically discover its assigned task servers, fetch tasks, annotate them using the logic defined in the recipe, and submit the results. If a task has annotation instructions defined, the agent is also able to use them, in addition to its own guidelines.
Each agent runs in its own session and creates annotations in the task’s dataset, just like a human annotator would. While an agent is running, the app shows its status as ANNOTATING when it is working on a task, and IDLE when it is running but has had nothing to annotate for the last few minutes. An idle agent is still assigned and will pick up new examples as soon as a task has them. To stop an agent automatically once it runs out of work, set its idle shutdown time – the built-in agents have it under Advanced settings.
Classification agentIDLE
You can assign agents to tasks via AgentAdd to tasks or TaskAdd agents in the UI or using agents assign on the CLI.
To unassign an agent, you can remove it from a task in the UI or via agents unassign. This will only remove the assignment and keep all annotations the agent has created.
Agents support three optional settings that control their runtime behavior: poll_interval sets how frequently the agent checks for new tasks (in seconds), idle_shutdown_seconds shuts the agent down once none of its tasks has had anything to annotate for that many seconds, even if the tasks are still running, and icon customizes the avatar used to attribute annotations created by agents in the app, to make it easier to tell them apart.
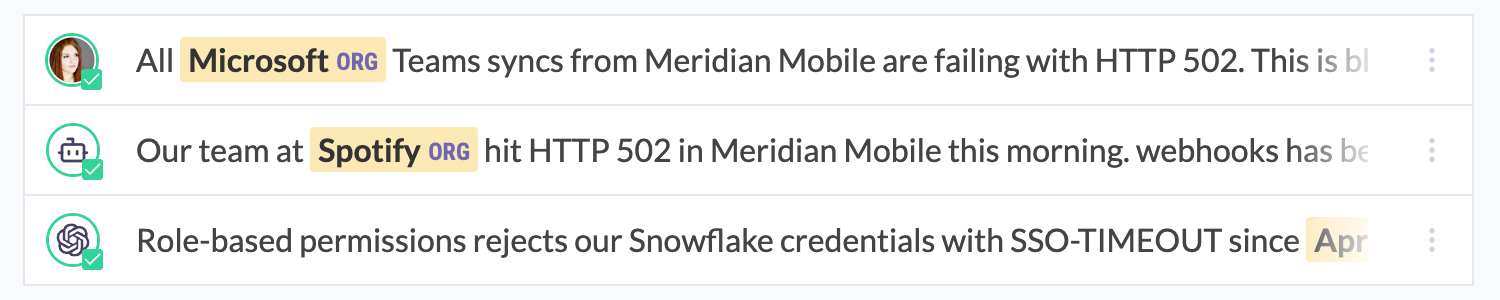
These are defined as parameters in the agent recipe and can be configured when creating the agent. For details on building your own agent recipes, see the recipe development guide and the @agent_recipe API reference.
Use Ellf to iterate on label scheme
To make the most of annotation agents, its crucial to have a well-defined and consistent label scheme. You can use Ellf’s project planning and data annotation modules to guide you through the process, before starting an annotation agent or incorporating human annotators.
Services
Services are long-running background processes like REST or MCP apps and APIs that can also be used by your coding assistant, or tasks, actions and agents in Ellf. They’re created from a recipe, a Python function describing the setup and its available settings. Services can also expose web apps, so you can use them to host demos, dashboards or other custom apps and tools on your cluster.
Generate PatternsSTARTED
To create a new service, you can navigate to ServicesNew service in the UI or use services create on the command line. The available settings are automatically converted into a web form and CLI arguments.
To start a service, you can run services start with the name or ID of the created service:
Once a service is running, you can use the web UI or services url command to get its bearer-token-authenticated URL. This mints a fresh 90-day token and formats it together with the service’s public URL, ready to drop into an MCP client config or curl invocation.
$ellfservices
url
"My first service"✔ URL: https://yourorg.ellf.run/services/3f2a.../
Token: eyJhbGciOiJSUzI1NiIsInR5cCI6IkpX...
Expires at: 2026-09-23T11:04:00+00:00
Try it: curl -H 'Authorization: Bearer eyJhbGc…' https://yourorg.ellf.run/services/3f2a.../
The URL stays stable across stop/start cycles, so an MCP client config that points at it keeps working even after the service is restarted. If a token ever leaks, services rotate-token mints a fresh one without printing the URL again. Existing tokens stay valid until they expire.
Opening a service in the browser
Services built for people rather than machines – dashboards, demos, notebook servers – can be declared with auth="session" in their recipe. For these, the service page in the web UI shows an Open in browser button while the service is running: click it and the service opens in a new tab. Access is limited to logged-in members of the service’s project, and visiting the service URL directly (e.g. from a bookmark) redirects you through the app to sign in first. Bearer tokens keep working alongside, so the same service can also be called by machines.
Connecting an MCP client
For a service that exposes an MCP server (like the built-in pattern generation service), drop the URL and token into your MCP client config. The exact file depends on the client, but the shape is the same – a streamable-HTTP server with the bearer token as a header:
{
  "mcpServers": {
    "pattern-gen": {
      "url": "https://yourorg.ellf.run/services/3f2a.../mcp",
      "headers": {
        "Authorization": "Bearer eyJhbGciOiJSUzI1NiIsInR5cCI6IkpX..."
      }
    }
  }
}
Your coding assistant can then call the service’s tools directly. Because the cluster enforces authentication for you, a request without a valid token is rejected before it ever reaches the recipe.
End to end service setup and usage
To create a new service, you can use the services create command or click New service in the web app. If you’ve created a service with --no-start, you can also run services start to start it manually. To build your own service – an MCP server, REST API, or a browser app like a dashboard – see the service recipe guide and the @service_recipe API reference.
$ellfservices
create
pattern_gen"Pattern server"--api-key GEMINI_API_KEY
Use Ellf to integrate your existing apps for you
Services are a great way to integrate apps like dashboards that have access to data and model resources on your cluster, or to set up webhooks for other tools and platforms. If you’ve connected Ellf to your coding assistant, it will become proficient at recipe development and the Python API, and can implement these integrations for you.
Read more
Annotation sessions
Once a task is running, annotators with access to it can navigate to it in their dashboard and open the annotation app. You’ll be able to see their work and monitor the activity as it happens. You can also click the Annotate now button on the task page to annotate yourself. A session counts every time a user opens the annotation UI, until they navigate away from it. This means that the same user can start multiple sessions over time and create annotations during those sessions.
To exclude a whole session, e.g. if an annotator misunderstood the guidelines, use the session menu or sessions exclude CLI. This takes all of the session’s examples out of the task’s active data and serves their questions to annotators again. The examples still count as the annotator’s work and you can put them back at any time.
Workers
Task, actions, agents and services can have different cloud hardware requirements and may require a high-performance CPU or GPU to run or train machine learning models. When starting a job, you can customize the worker class to be used so that the cluster can provision the required workers. For example, you can change the worker used by an action by clicking the arrow on the Start action button or by setting the --worker-class argument on the CLI.
By default, the cluster is set up to provide the workers base, small, medium and gpu. See the cluster documentation for more details on their specs and how to define custom workers.
Job statuses
Tasks, actions, agents and services all report a status that tells you where the job currently is in its lifecycle. It’s shown next to the job’s name in the app, and you can filter the overview pages by it.
| STARTED | The job is running. For tasks, this means the annotation app is ready to use. |
| ANNOTATING | Agents: the agent is running and currently annotating examples. |
| IDLE | Agents: the agent is running but there are no new examples right now. |
| STARTING | Tasks: the job and annotation app are starting up, but not ready yet. |
| STOPPING | The job is shutting down after stopping it in ClusterJobs. |
| NOT_FOUND | The job doesn’t exist on the cluster, usually because it hasn’t been started yet. |
| STOPPED | The job was stopped from the app or via the CLI. |
| COMPLETE | The job finished successfully, the typical end state of an action. |
| PENDING | The job is waiting to be scheduled, e.g. while a new worker is provisioned. |
| BLOCKED | The cluster can’t start the job, e.g. if no node has resources for the worker. |
| CRASHING | The job is running but unhealthy, e.g. because it keeps crashing on startup. |
| FAILED | The job exited with an error and won’t recover on its own. |
If a job is BLOCKED, CRASHING or FAILED, the job page shows an alert with the reason reported by the cluster, e.g. that the job ran out of memory or was evicted from its node, together with a hint on how to fix it. The monitoring module can also help you diagnose the problem from your coding assistant.
Monitoring and observability
The monitoring module lets you check in on the status of your running tasks, actions, agents and services. It can report scores and potential problems for actions like model training, task state, progress and activity for annotation tasks and annotation agents, as well as the overall cluster health.
› /ellf-monitor How’s the NER training going?⏺︎Job ner-product-names-v2 (action)State running — step 800 Best score 0.81 (ents_f) at step 720 Train loss 0.52 (stable) Alerts None
Training looks healthy. The score has been improving steadily and there are no signs of overfitting or loss instability.
For each task, action, agent or service, you can also view the log output in the Logs tab or on the CLI via tasks logs, actions logs, agents logs and services logs. In custom recipes, you can use Python’s logging utility or regular print statements to add entries to the logs.